In preparation for my sister’s wedding this upcoming summer, I wanted to brew a wheat beer that used honey so that for the wedding I could name a beer something corny like ‘Honeymoon Ale’. This was a practice brew to see how brewing with honey would go. After looking through the recipes in the November 2019 issue of Zymurgy, which was dedicated to brewing with honey, I didn’t find any that were what I was looking for; a simple wheat beer with honey. I decided that for this test brew I would instead order a recipe kit from Adventures in Homebrewing, so I chose the Goldfinger recipe.
Brew Day
I kicked off this brew on a Saturday morning in February. I had hoped for slightly warmer temperatures, but I got around 35° which was workable. I brewed a brown ale in January and lucked out with temps in the mid 60s, so go figure. It was a little chilly and it made holding the mash temp a bit challenging.
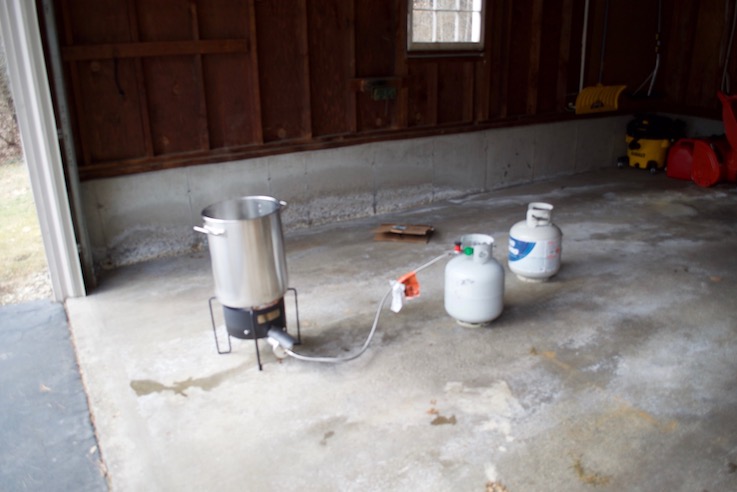 Initial equipment setup
I having been brewing all grain beers for a few years now, all brew-in-a-bag as it was an easy way for me to move to all-grain. It has worked really well for me, so I don’t see myself switching anytime soon. If you are considering making the jump to all-grain, I highly reccomend giving BIAB a try. The only real equipment upgrade you might need is a good-sized kettle. I personally have a 10 gallon kettle which works really well for 5 gallon batches. I have brewed double IPAs and not had a problem (except a really heavy grain bag).
 Heating the strike water
To get started, I heated up 6 gallons of water to a target of 158°. I ended up overshooting my target by about 10° because I wasn’t keeping a close eye on my temps. To compensate, I added some cold water I had set aside to rinse my grains when I mashed out. Slowly adding the cool water, I was able to hit my 158° target. Next, I put my BIAB bag into my kettle and slowly started adding in my crushed grains to the bag. It’s key to go slowly, always stirring, to prevent dough balls from forming in your mash.
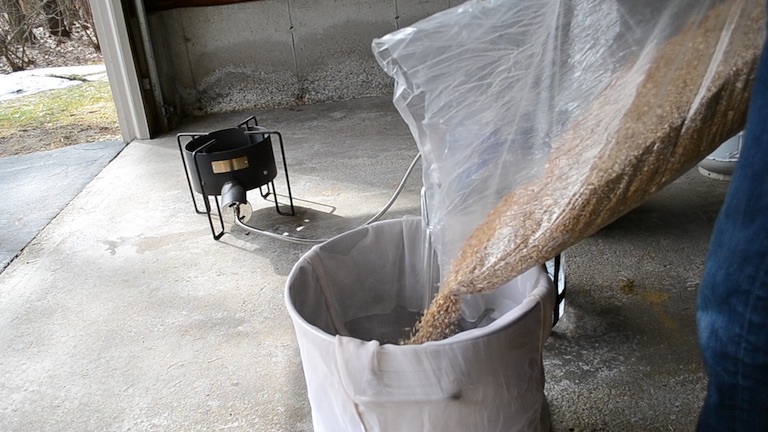 Mashing in the grains
Once I had all of the grains into the kettle for the mash, I checked my temp again and found that, unfortunately, I had dropped below the target of 152° for the mash. So I had to add some heat. When doing BIAB, you have to be careful firing the kettle with the bag in it. It’s important to key the burner on a really low setting and constantly stir to prevent scorching the bag. Within a few minutes, my mash was up to temp. I wrapped up the kettle with some blankets and set a timer to check back in on it after 15 minutes. The total mash time for this recipe was 60 minutes. I checked in on it every 15 minutes and added some heat a couple times during the hour. In the future, I would like to maybe get a RIMs system to keep my mash temps stable for the entire mash.
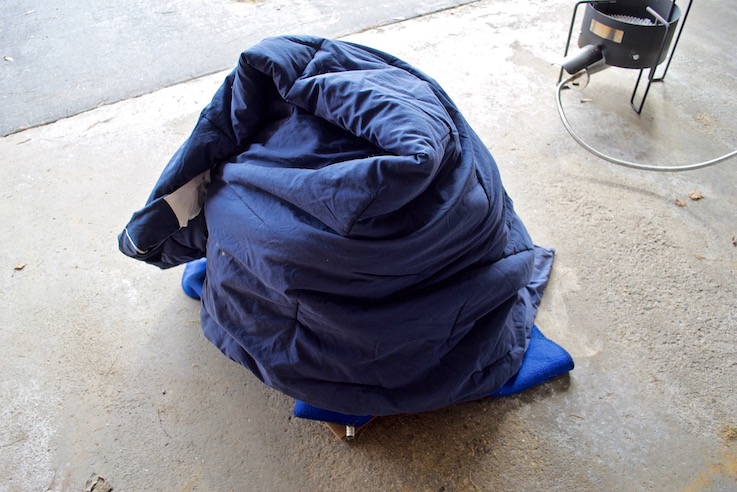 Kettle insulated for the mash
Once the hour was up, I began my mash-out process. I found that using one of the wire shelves that came with my kegerator is really helpful to rest the grain bag one while it is draining. I like to rinse the grain bag with a couple gallons of water at this time to help get all of the sugars into the boil. I just reduce the amount of water I use during the mash by a couple gallons and use that water to rinse the grains. Having some heat resistant gloves is a requirement for this stage. I got the ones I use at Bed Bath & Beyond.
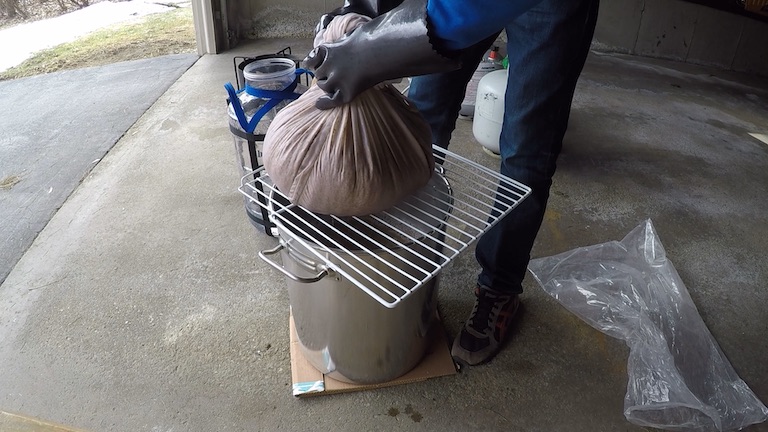 Squishing the grain bag
Once the grains were fully rinsed and drained, it was time to fire up the burner and bring the wort up to a boil. This recipe only had 1 hop addition, so as soon as I reached a boil, I added in the 1 oz of Willamette hops. Make sure you turn down your heat when you do your hop additions, as the wort really loves to boil over as soon as you add hops.
The rest of the boil was pretty uneventful. The honey addition for this recipe occurred at 5 mins before the end of the boil. This was my first time using honey, but there wasn’t really much to it. I just made sure that I added it slowly and kept stirring to prevent it from settling on the bottom of the kettle and scorching.
During the last 20 minutes of the boil, I got my counterflow chiller and pump set up. I like to run some boiling wort through both the pump and chiller while the boil is still going to sanitize everything. I just use short bursts of the pump until I get boiling hot wort coming out of the counterflow chiller.
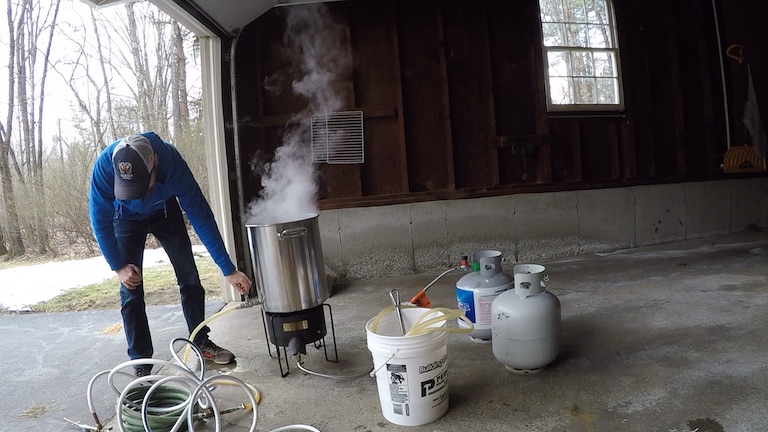 Chiller and pump setup
Once the boil was complete, I transferred the wort to my fermenter through my chiller. I measured my OG at 1.040, which was off from the recipe target of 1.045. The wort in the fermenter was still a little bit warmer than the 66° I planned to ferment at, so I put my fermenter into my fermentation chamber and let it cool down the rest of the way. Now I was glad for the cold weather. I usually leave my fermenter out on the covered sun-porch in the winter and this makes cold-crashing pretty easy. After a few hours the wort was down to pitching temp, so I pitched in my activated Wyeast 1010 packet and I was done.
One thing that happened during the brew, when I was getting my chiller set up, was that I dropped my fermenter on the ground. I inspected the fermenter and didn’t see any cracks, so I thought I lucked out. Once fermentation started, I learned that that wasn’t the case. I had ended up cracking the lid ring for my Big Mouth Bubbler, which caused it to not seal up completely. This was very apparent when the beer was fermenting very vigorously, yet the airlock had no activity. I tried a using some plastic wrap to make a better seal, but I never got it perfect.
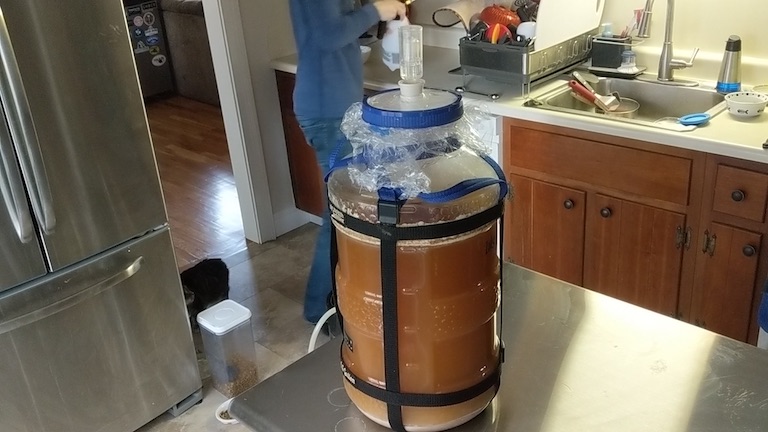 My attempt to fix the leaking lid
Due to the fact that the fermenter was possibly not airtight, I wanted to move the beer out of the fermenter as soon as fermentation was done. This happened once the gravity reached 1.008 (which was right on target for the recipe!). At that point I racked the beer into a keg and popped it into my kegerator to carbonate up. I usually let the beer sit for about a week after fermentation completes to let the yeast do some clean up, so it took a bit longer than normal once the beer was in the keg for it to be ready to drink. There were some pretty strong sulfur components at first!
Making the YouTube Video
I also decided that this brew would be the first one that I would try to create a YouTube video of while I was brewing. Unsure of what sort of camera angles would be best, I strapped my GoPro to my chest and set my DSLR up on a tripod in the garage. I also tried out the time lapse function on my phone for when I was getting my equipment set up. What I discovered was that the cold weather was not kind to my DSLR, so I was only able to get footage from it for the first stage of the brew, up until the mash. After I mashed in, the battery died and I figured I could get the rest of the footage just using my GoPro. When it came time to edit, I wished that I had more footage from multiple angles as swapping between angles added some flexibility and some of the footage from the chest-mounted GoPro was shaky or the camera was pointing at my legs instead of the beer.
I hope you check out the YouTube video and let me know what you think in the comments. I would love to hear what you think of the video, so that I can make improvements for the next video I make. Cheers!